


Disclaimer: install at your own risk
GTA Car Kits is not responsible and should not be liable for any damages caused to you or your vehicle during installation of the kit. All installation videos on this website and GTA Car Kit's YouTube channel provided as a reference only. If you don't feel comfortable with DIY installation - please contact a car audio professional in your local area.
GTA Car Kits is not responsible and should not be liable for any damages caused to you or your vehicle during installation of the kit. All installation videos on this website and GTA Car Kit's YouTube channel provided as a reference only. If you don't feel comfortable with DIY installation - please contact a car audio professional in your local area.
Alex Spriggs –
The video is great to get all the connections done and how to get the trim and stereo out – the one thing I would add though – is if you are struggling to fit the unit behind the stereo like I was – and I mean struggling – KEEP READING.
I tucked the cables underneath the lip you will find right below the stereo – seems like a good place for cables etc to go – but the stereo was facing interference with the module when it was placed behind the stereo unit as instructed in the video. So I reached out for help to GTA and they suggested behind/beside the glove box is also doable. I took a quick peek opening the glove box and it was 4 torx screws you can EASILY see to pull the glove box out (undo the dome light in the glove box – easy). Took 2 minutes to get the glove box out.
Then right there on the left of the glove box is a perfect place for the module. There was a clear pass through (not hard to fish wires at all) to behind the stereo so i just ran the cables from the stereo that were going to the module through wide open pass through – connected the module – and then tucked the module just to the left of where the glove box was going to be reinserted. After struggling for a few hours to make it fit behind the stereo – it took me 10 minutes with this solution.
DO NOT BE AFRAID to remove the glove box and tuck the unit there -it is WAY less work than you think. Wireless carplay works perfectly – i tucked the antenna under the vents that you remove first as the video suggested. I did run the female USB connection as they instructed in case I want to plug directly in but so far no issues with the wireless connection at all. Instructions were all clear – just hope someone reads this when they can’t fit the module right behind the stereo. It MIGHT be because my stereo was a the disc changer version and their video shows a single CD player version – although they do look to be identical in terms of size – maybe there is an extra cm or something on the back that causes an issue. Thanks GTA – the support after purchase was excellent and I really appreciate you guys!
Scott K. –
Quality product for sure. The install video was a MUST and very helpful. The detail it provided for the install gave me the confidence to “disassemble” my G63…not something I may have tackled had it not been for the excellent reviews. For those who are considering or did purchase, one point i would make is that in the video it references the FIBER OPTICS modular connection…ensure you plug it back in, oriented properly. The modular connection for the FIBER OPTICS can actually be installed up-side-down, causing some issues so pay attention to how it came out of the factory unit and how you reconnect to the GTA unit…small detail but big difference. Also, I put the GTA unit NOT behind the MB factory radio but opted for behind the glove-box (not to the left but to the far right lower corner…it had a bunch of room and all the wires had plenty of length to reach.
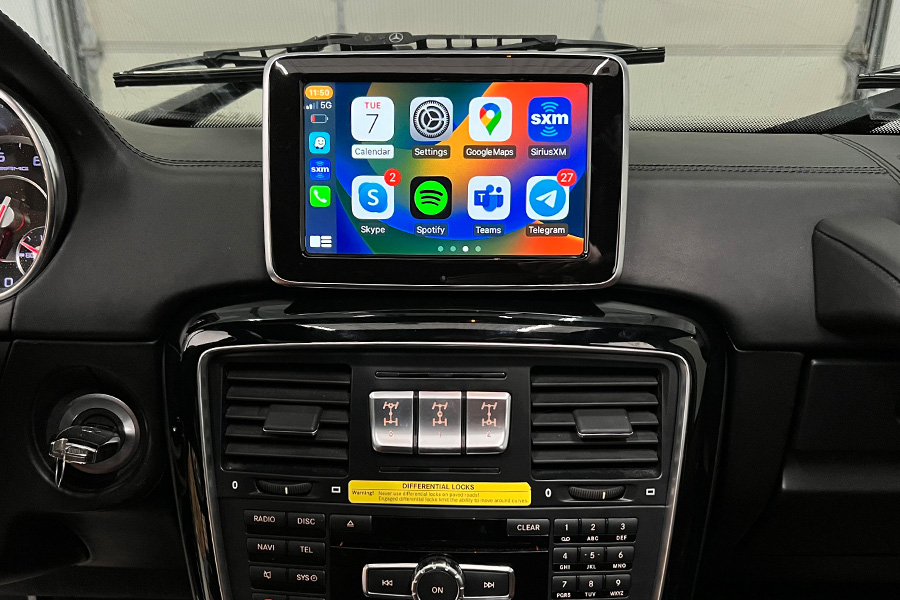
I highly recommend the unit, my wife loves having CARPLAY in the G63!!